I’m doing an experiment. A grand experiment. And I’d love to hear your feedback! Boyfriend and I were talking about “infographics” the other night and he asked why I don’t do one with a recipe. At first this sounded complicated and impossible, but I thought more and more about how useful it could be, especially with sites like Pinterest around.
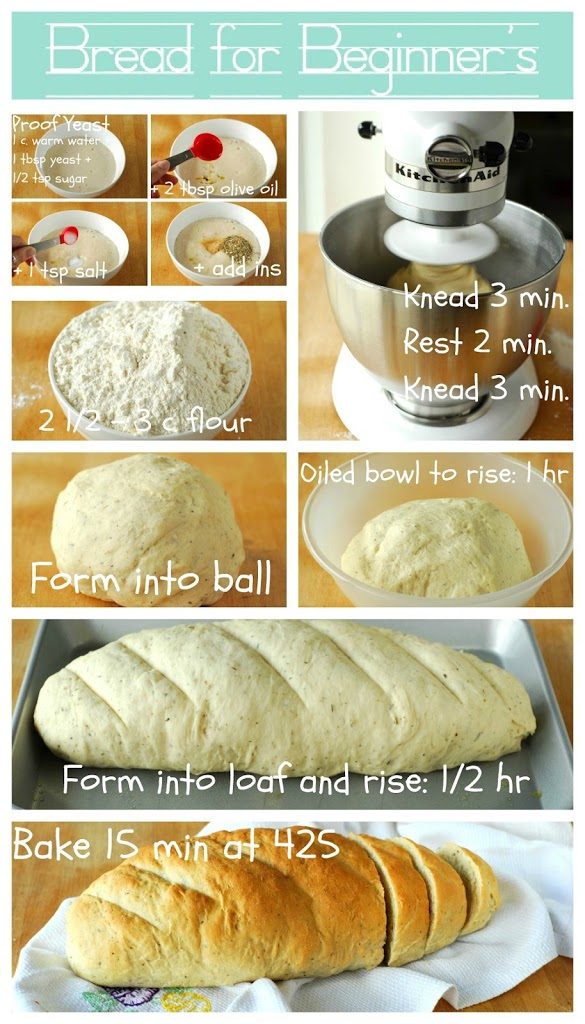
So, I thought about what recipes people tend to over complicate but are household staples, and I came up with good old dinner bread. The task usually seems daunting because bread can be complicated and time consuming, but it doesn’t have to be! Nearly all breads that I bake now, be it pizza dough or a loaf to have with dinner, start out with the same base, and I want to share that with you.
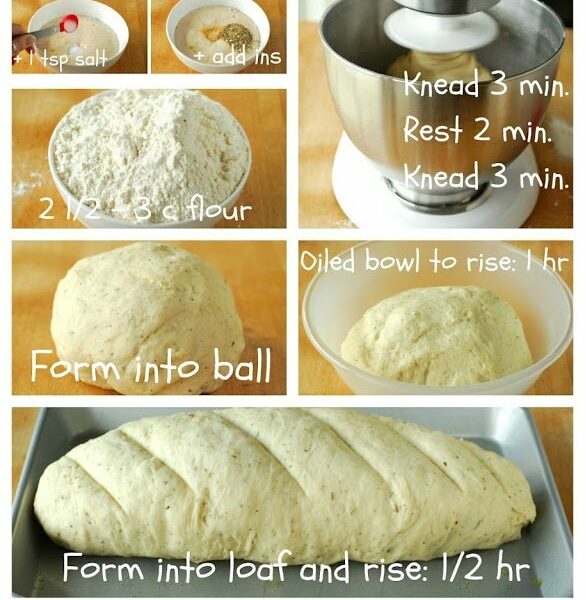
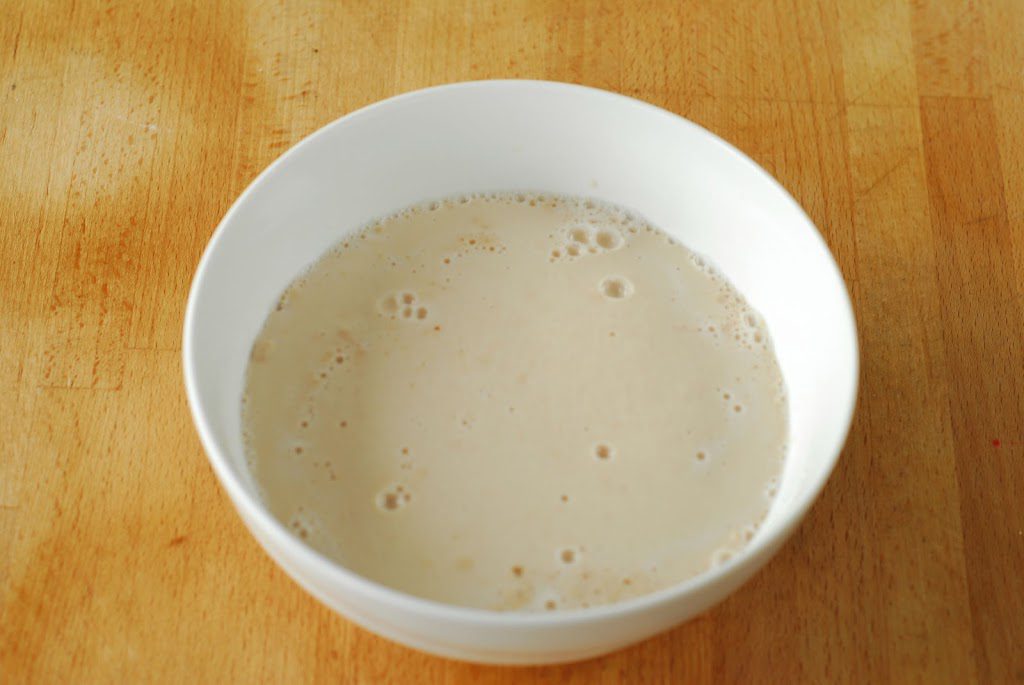
Start by proofing yeast in warm water and a little bit of sugar. To check the temperature of the water, I seriously just stick my finger in it. If it it hurts my finger, it’s too hot. If it feels “luke warm” it’s a bit too cold. Somewhere between there. My methods are super scientific. Let it sit for about ten minutes. It’s ready when it’s foamy and looks like this.
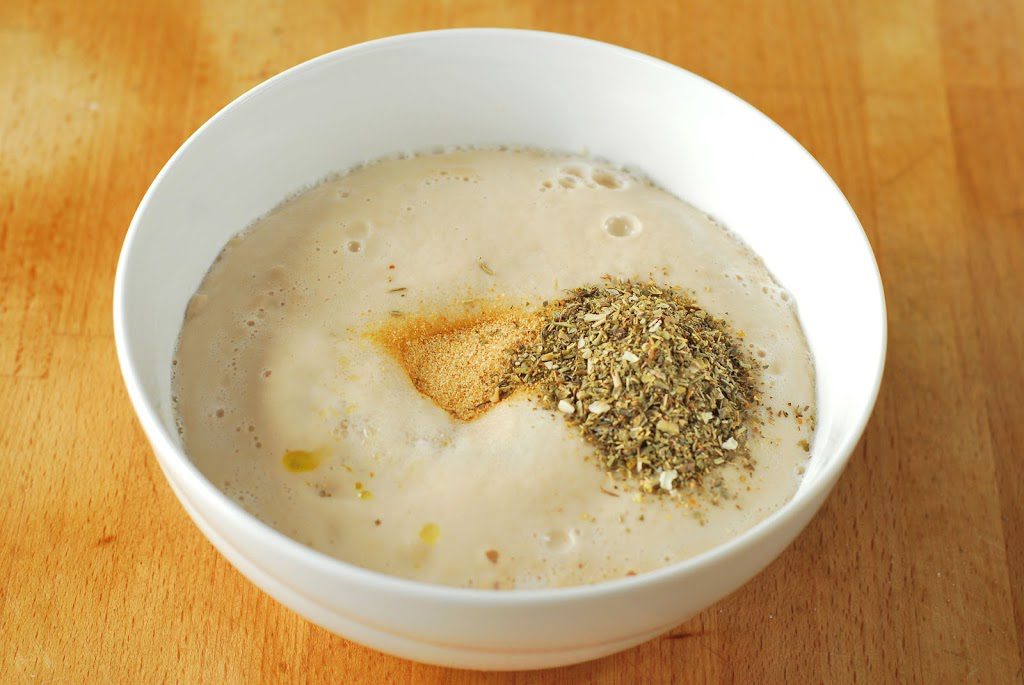
Then add some olive oil and salt. Then you get to add whatever you want to make this bread tasty. Be creative! I usually take a garlic powder and Italian seasoning route, but you could add cheddar cheese and jalapenos, fresh herbs, or just make it plain-jane.
Then knead in some flour, a bit at a time, until the dough is no longer sticky. Using your KitchenAid with the dough hook or by hand, knead the dough for 3 minutes. Then let it rest for 2 minutes. Then knead it for another 3. Trial and error has taught me these times are about the minimum you can get away with for perfectly elasticy dough.
I’m kind of a messy baker, but it’s okay. Then form that beautiful dough into a ball and let it rise in an oiled, covered bowl for about an hour, or until doubled in size.
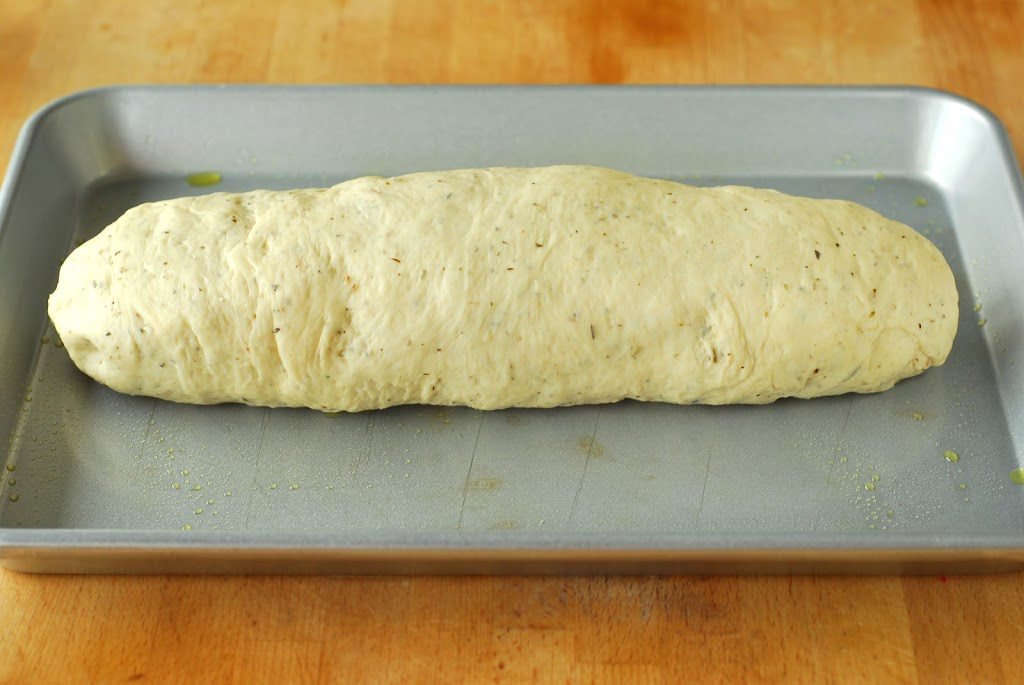
Punch it down and form the dough into a loaf shape. Throw it on an oiled cookie sheet. I’m just using a quarter sheet.
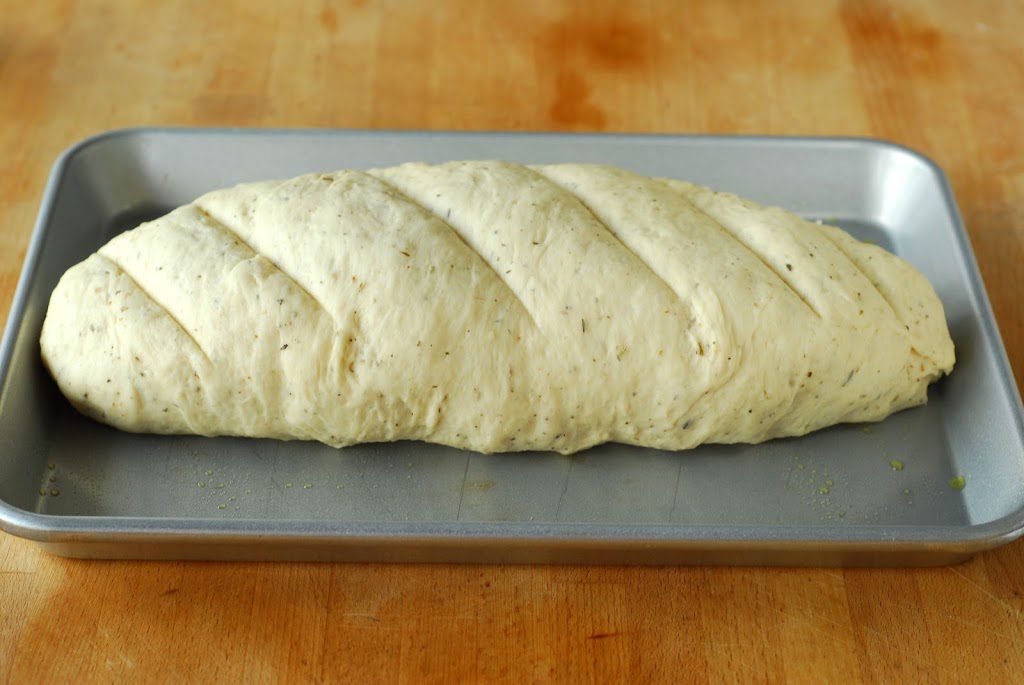
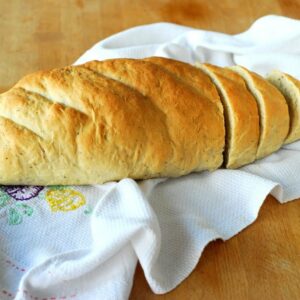
Let it rise for another half hour and score it. Or don’t score it. I just think it makes it look pretty.
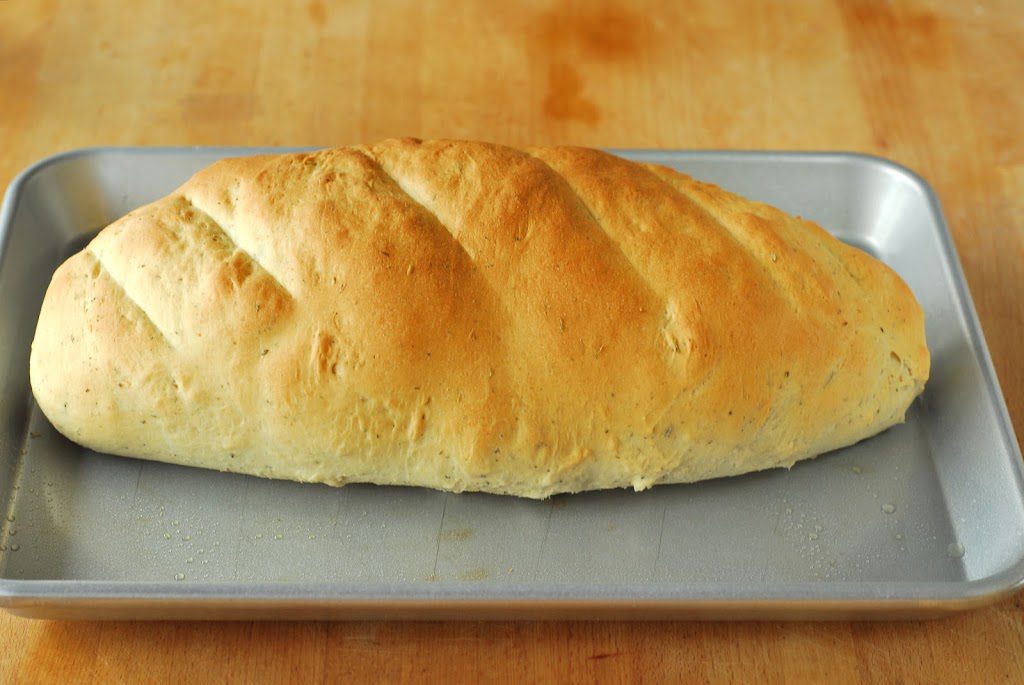
Bake it in a preheated oven at 425 degrees for 15 minutes. And you’ve done it! That’s it!
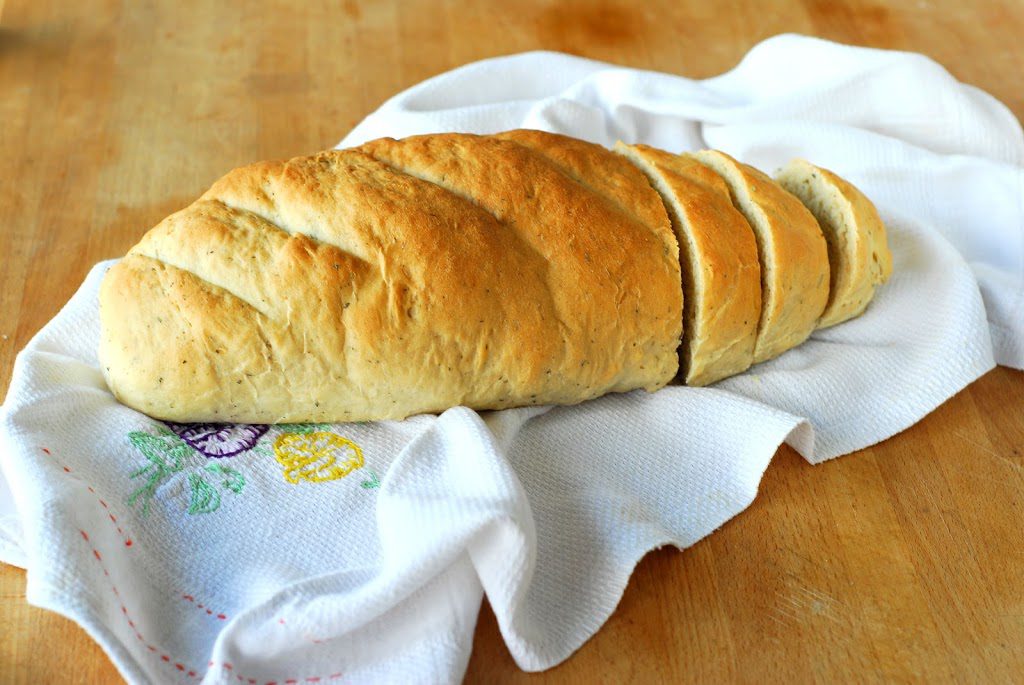
Although bread does take some forethought with all the rising time, it’s in no way complicated to prepare. Homemade bread just might be my favorite carb to have with dinner.
Or it could be mashed potatoes. Or maybe it’s bread. Or I’ll just have both.
Make some this week, and let me know what you think of this graphic!
Want to try your hand at some other bread recipes now? Next you have to try Flatbread with Tomatoes, Peppers, and Burrata, Easy Crusty Bread, Cast Iron Skillet Cornbread, or Pepper Jack Cheese Bread! Thank me later.
Get the Recipe:
Bread for Beginners
Ingredients
Instructions
- Combine warm water, yeast, and sugar and let sit for about ten minutes, or until foamy.
- Add the olive oil, salt, and desired add ins and stir to combine.
- Using the dough hook on your KitchenAid or with a spoon and then hands, add the flour 1/2 cup at a time until dough is no longer sticky. Knead the dough using the dough hook or by hand for three minutes. Let it rest for two minutes. Knead for another three minutes, then form into a ball.
- Coat a large bowl with olive oil and add the dough ball, turning to coat. Cover with a towel or saran wrap and let sit for one hour, or until dough has doubled in size.
- Preheat your oven to 425 degrees and lightly oil a baking sheet.
- Form the dough into a loaf shape, tucking and pinching edges. Let rise for about 30 minutes. Score with a sharp knife. Add toppings, if desired.
- Bake in preheated oven for 15 minutes, or until outside is golden brown. Let cool for 15 minutes before slicing.
Your bread looks great ? have you a recipe for multigrain bread?
I don’t have one, but knowing there’s interest is helpful for me!
My bread is always well cooked on the outside but still doughy on the inside. Any suggestions?
Ovens can very a little bit – I’d reduce the temp by 25 degrees F and cook longer! Start with 8-10 minutes longer and see how it improves.
“Infographics”-yes! 💃I am a 73 yr old Grandma (Mimi) & artist. I have never made bread and your recipe dough is rising as I type this. Pictures teach me far better than words. So very glad I found you. Blessings
Do you cover the loaf during the second rise?
Yes, you do!
How many cups of flour do you need? 21/2 -3 does not make sense to me.
You’ll need 2 1/2 to 3 cups of flour – add it gradually until the dough is elastic and no longer sticky. Your flour and elevation can affect this, hence the range!
Did you use bread or all-purpose flour?
Thank you
All purpose, but you can use bread!
What type of yeast? Self rising or regular?
Regular!
I added Rosemary and garlic to this which ended up being an Italian restaurant-style bread perfect for dipping in olive oil! My family is obsessed!
Yay!! I’m so glad to hear that!
Bread had nice flavor. WE added 3 TBSP EACH of chopped rosemary and shredded cheddar cheese to dough and then rosemary/cheese on 1/2 of top and “everything bagel “ topping inn
other half.
Baked it for 20 minute. Will try to attach a few pictures.
Should you cook in middle or bottom of oven?! Looks delicious! Can’t wait to try it!
In the middle 🙂 Hope you love it!
How do you keep the bread from spreading into a pizza shape without using a bread loaf pan?
The dough is sturdy enough to hold it’s shape!
How would you adjust this for high altitudes baking (Denver).
I don’t have any experience with altitude baking so unfortunately can’t help. I recommend looking for a blog that specializes in that!
Have you tried to double this recipe and mix it in the Kitchen Aid? I think my mixer is a heavy duty Kitchen Aid.
I am admiring y our tea towel with the finished bread loaf. May I ask where to purchase these and what they are called?
I haven’t! It would probably double just fine. Unfortunately I’m not sure about the tea towel – this photo was taken about a decade ago and it was a gift!
Can you use a different oil ?
You can but I would keep it neutral or make sure it’s a flavor you’re okay with!
What speed on your kitchen aid do you use to knead your dough please?
According to KitchenAid’s website, do not go higher than a speed of 2. That’s what I have done for the bread I’ve done so far, and it turns out great.
Just took the loaf from the oven. My house is full of the smell of fresh bread! Can’t wait to try it.
I’d love to try this bread recipe. I’m a bit shocked at the calorie count per serving as well as the Carb count. Is the nutrition panel info for 1slice or 1 loaf?
Came out great. Could have let it rise longer-my house is cold. Put everything bagel on top.
Can I use honey instead of sugar?
Sometimes honey can actually kill yeast, so I would stick to sugar!
So I had to add some time, I’m assuming because I’m at a lower elevation than you. (Kentucky) Also, my bread is not “shiny” like yours. I assume it’s because there was no egg wash added? Do you do this or is my bread just strange lol!
Can I use a loaf pan to bake it?
Yes, you may have to watch and adjust cook time!
Hi, I just made this now, to prep for our dinner. I actually added rosemary and chives along with the Italian seasoning. Doubled your recipe and made individual rolls. OFCOURSE i quickly cooled one and cut it for the kids to try..Oh YUMMY. Was their response!!! Wonderful recipe thank you…
I’m so glad!!!
I made this recipe and homemade bread for the first time last night and OMGOODNESS it was sooooo good and so easy to follow. Thank you for your tips! I even made homemade butter. 😍🥖🧈
Aw I’m so glad!!!
I was trying to do to many things at once and my loaf turned out heavier then it should have but still delicious. If I actually made this bread without distractions it would have been even better! Thank you, easy peasy
Good recipe. I used 2 cups all purpose flour & 1 cup whole wheat flour.I had no Italian seasoning so I replaced that with thyme.
This is a great recipe for me as a beginner. I had to bake longer than 15 minutes, but I learned that after my first try.
Thanks!
Vanya
This was my first time making bread. Your recipe was very easy to follow and the bread came out very well!
Thank you!
I’m so glad, Hannah!!!
Me and my 7 year old daughter followed the recipe to a T and we love it!! No extras, nothing fancy…
Made a beautiful, fluffy loaf that’s delicious with salted butter.
She loved watching the ‘magic’ of it rising and our house now smells absolutely lovely 🥰
Thank you for sharing x
What can I bake it in, don’t have a Dutch oven pan.
You can bake it on a baking sheet.
This is such a great recipe! Very simple and turned out great. My bread took 20 mins and it was perfection. I made use this recipe for sandwich bread and bagels next time! Thanks!
Turned out great! First recipe I’ve made using my new kitchenaid mixer! I just used a little oregano for my first try. Had to had about 8-10 minutes baking, but it’s delish! Family approved! I’ll be trying some ideas left in the reviews too! Thanks for an easy go to recipe!
I’m so glad, Jessica! Congrats on your KitchenAid! So fun.
What is the best way to slice??
I’m not sure I understand what you mean! Like which knife would be best?
I put in all my ingredients but I forgot the salt is that going to hamper the cooking of my bread
It just won’t have as much flavor!
Ads are blocking the ingredients list on my iPad.
First time, ever making bread… soooo good! I even messed up a little, but still turned out good!
Hi from Türkiye! Learning how to make bread.. it’s very dense inside… airy… if that makes sense.. any tips?
Hi,can I use instant yeast instead? I tried the recipe but I messed up so it was really dense. Could you perhaps help me? I tried baking it for 20 minutes but it didn’t help. I think I made the mistake of putting the instant yeast in boiling water.
Hi! The water should be warm, not boiling. Instant yeast is fine, but no matter the yeast, if the water is too hot, you’ll kill the yeast!
Didn’t work for me, sadly. I’m sure it was user error though since I’ve never made bread in the oven before. It kind of spread too thin on the baking sheet. At 15 minutes the top wasn’t brown but the bottom looks like it’s burning. Oh well. I’ll try again soon.
Hi Leah! I’d recommend moving your oven racks up slightly! Let me know how it turns out if you give it another try!