Skip to Main Content
Mobile Menu Trigger
Submit
Mobile Search Trigger
Home
Browse Recipes
Browse Recipes
Recipe Index
Sous Vide
Sous Vide Recipes
Sous Vide School
About
About A Duck’s Oven
Blogger Resources
Contact
Press
Home
About
Blogger Resources
Contact
Press
new to sous vide?
Click here
Submit
Browse Recipes
Browse Recipes
Recipe Index
Cookbooks
Sous Vide
Sous Vide Recipes
Sous Vide School
Home
»
Recipes
Browse Recipes
Open Recipe Filters
by Recipe Type:
by Method:
by Ingredient:
by Cooking time:
by Season:
Search:
Reset
Red Curry Grilled Chicken Rice Bowls
Leftover Steak Hash with Chipotle Cream Sauce
Classic Bordelaise Sauce (Steakhouse Style)
Tender Smoked Rainbow Trout (Pellet Smoker)
3 Ingredient Grilled Cheese (for Tomato Soup)
3 Ingredient Lemon Pepper Seasoning
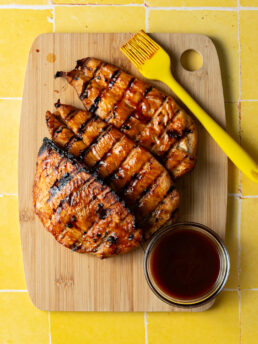
BBQ Chicken Marinade (made with pantry staples)
Sous Vide Bulgogi
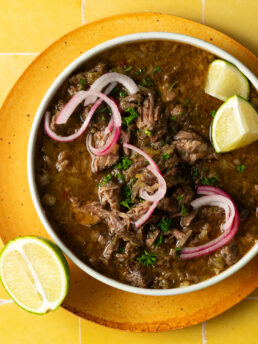
Sous Vide Barbacoa
Creamy Sous Vide Parmesan Polenta
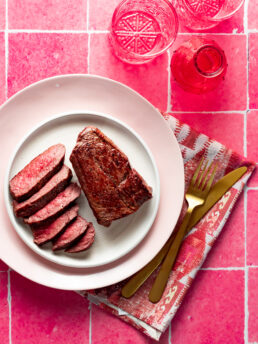
Sous Vide Top Round Roast (London Broil)
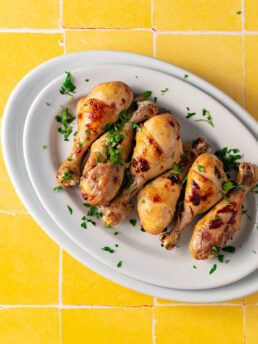
Sous Vide Chicken Legs (Tender or Fall Off the Bone)
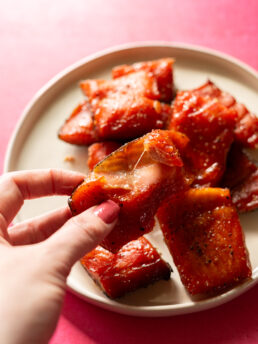
Sous Vide Crispy Carnitas
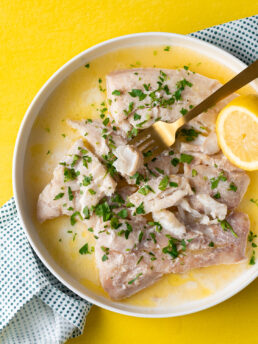
Butter Poached Sous Vide Cod (30 Minutes)
Sous Vide Tuna Steak (Any Species) in Soy Citrus Marinade
Foolproof Sous Vide Crème Brûlée
Smoked Carrots with Honey and Za’atar
20 Minute Sous Vide Hard Boiled Eggs
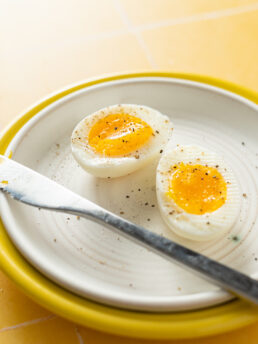
10 Minute Sous Vide Soft Boiled Eggs
15 Minute Sous Vide Poached Eggs
Medium-Rare Sous Vide Sirloin Steak
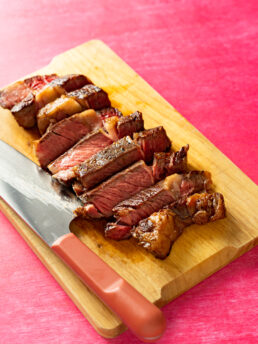
Medium-Rare Sous Vide Ribeye
Sous Vide Chicken Fajitas
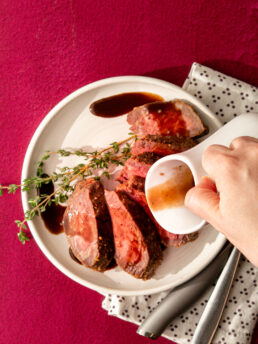
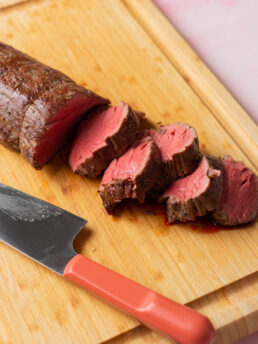
Sous Vide Beef Tenderloin
CLOSE
CLOSE
CLOSE