
Guess. What.
A Duck’s Oven turns four years old today! I can hardly believe it.
This blog started as a way for me to share my adventures learning to cook in my very own kitchen and to prove that college students could prepare more than just boxed mac and cheese and frozen pizza. Now, it’s come with me as I explore a new country and all kinds of new foods. My cooking, photography, and writing style have changed oh so very much since this blog first began. As I was reading through some of my earlier posts, I couldn’t help but laugh and cringe a bit. There’s definitely a learning curve when it comes to blogging, and I’ve still got a long ways to go! In case you’re curious, here’s the very first recipe I posted on A Duck’s Oven: Chocolate Chip Buttermint Cookies.
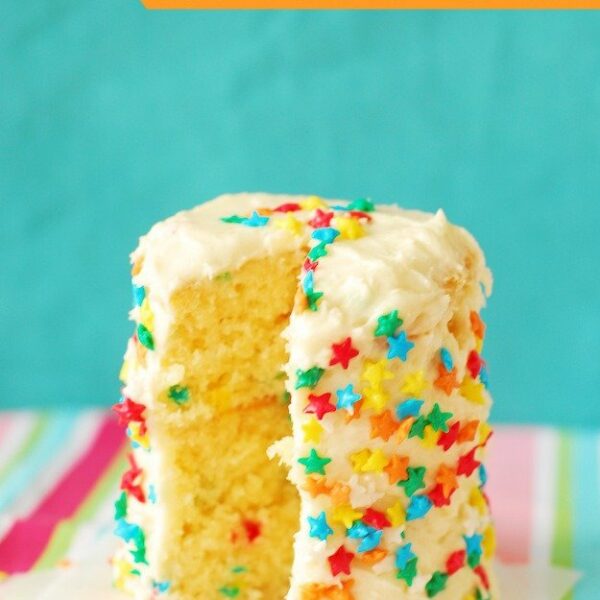
To celebrate, I baked my precious blog a birthday cake. My blog really doesn’t need a whole cake, but I still wanted to do a traditional, stacked cake. So A Duck’s Oven got a mini cake instead. And it was crazy adorable. I think this would be perfect for little kiddos’ birthdays or for anyone who doesn’t want a whole cake sitting around their kitchen (WEDDING DRESS SHOPPING IN T-MINUS FOUR MONTHS).
I baked a yellow cake, because it’s my favorite. And cream cheese frosting because, well, it’s my favorite.
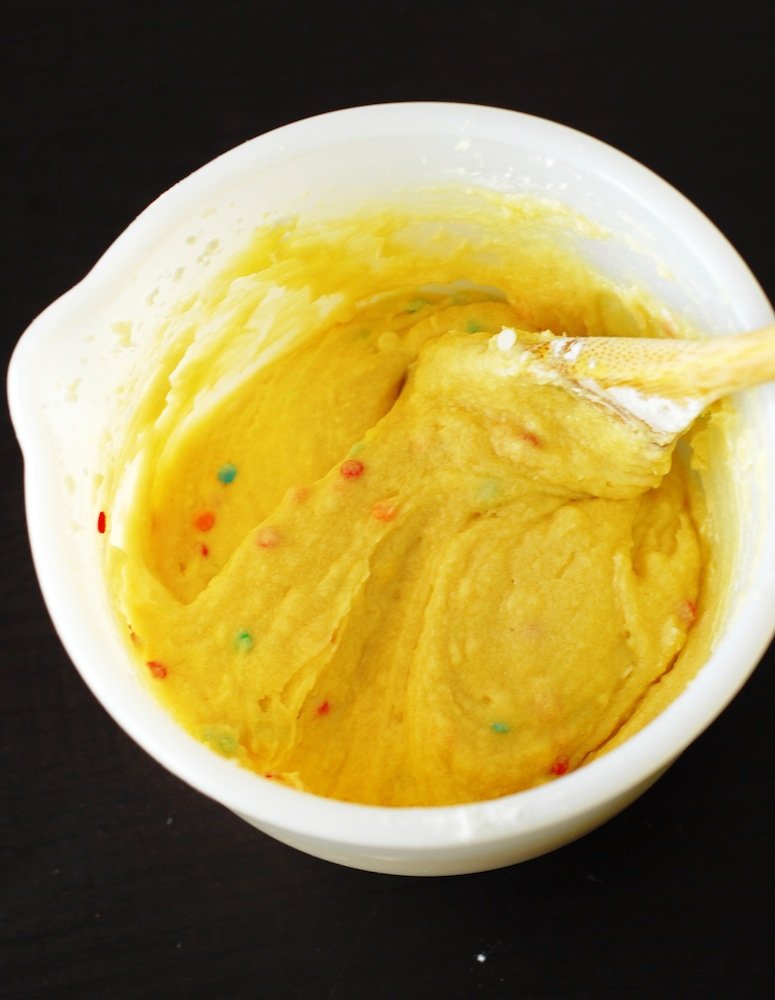
The batter is pretty simple to prepare: cream the butter, add the sugar and cream some more, add egg yolks, add vanilla, alternate adding dry ingredients and milk. I added some sprinkles because they’re fun.
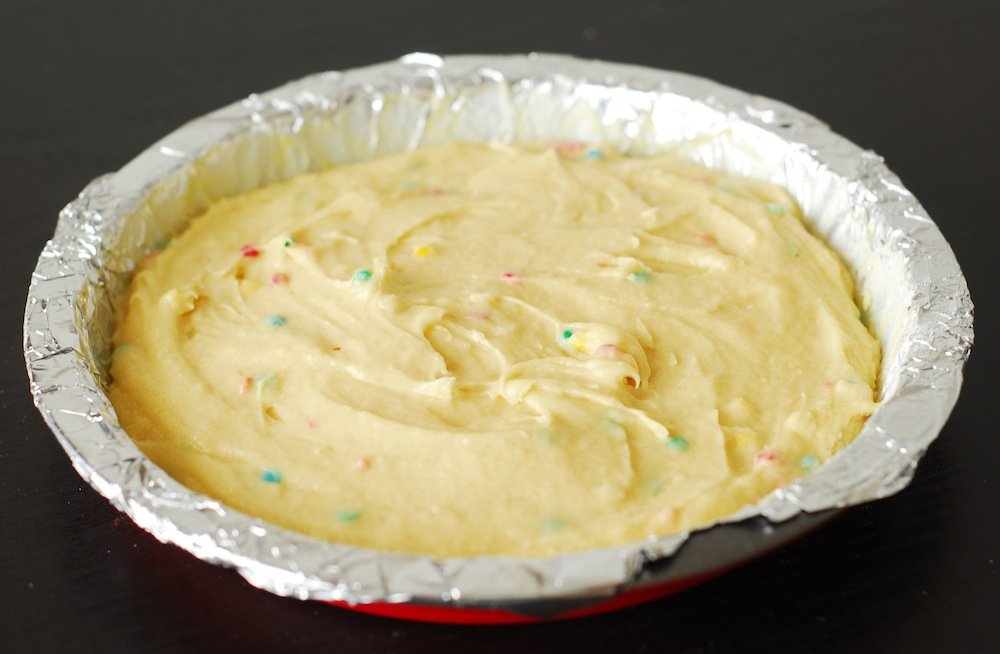
Pour the batter into an 8-inch round. Yes, mine is coated in foil. It had some water in it that I didn’t catch and rusted a bit. It’s probably fine but I’m paranoid. And yes, I could buy a new one, but we’re leaving Cape Town in three months (?!?!?!) and that feels wasteful.
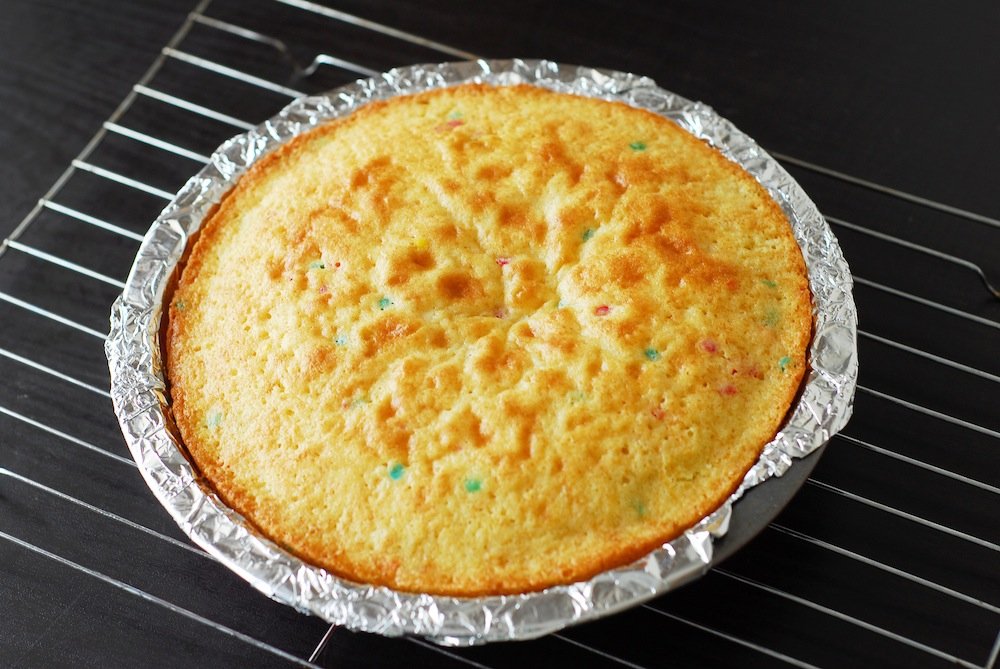
Bake until slightly golden and it bounces back when you poke it. This batter makes such a yummy cake! Yes, you could use a boxed mix, and I am definitely known for doing so… but this is almost as easy and better.
Okay. Now listen to me. Let the cake cool completely. COM. PLETE. LY. Yes, I know it sucks to wait. But if you don’t, this won’t work. Let it cool in the cake pan on a wire rack for awhile, then flip the cake out onto the rack and let it cool awhile more. When it’s ready, move the cake to a sheet of parchment paper.

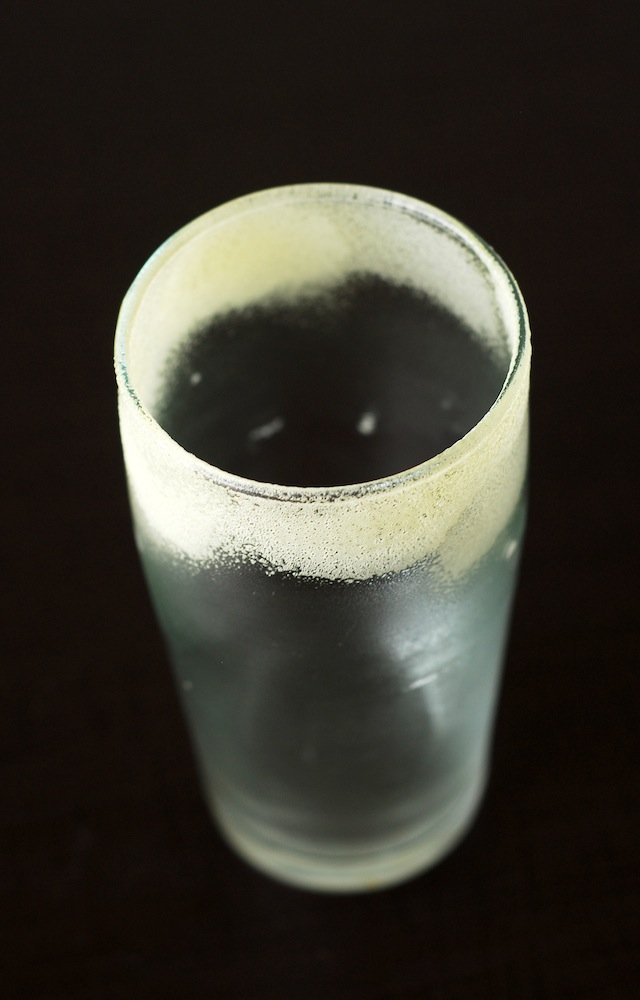
Pick a drinking glass with about a three inch diameter. Or if you have circular cookie cutters, that’s great, too. Just make sure they’re tall. You should be able to get four circles out of the cake. Spray the rim of the glass with cooking spray.
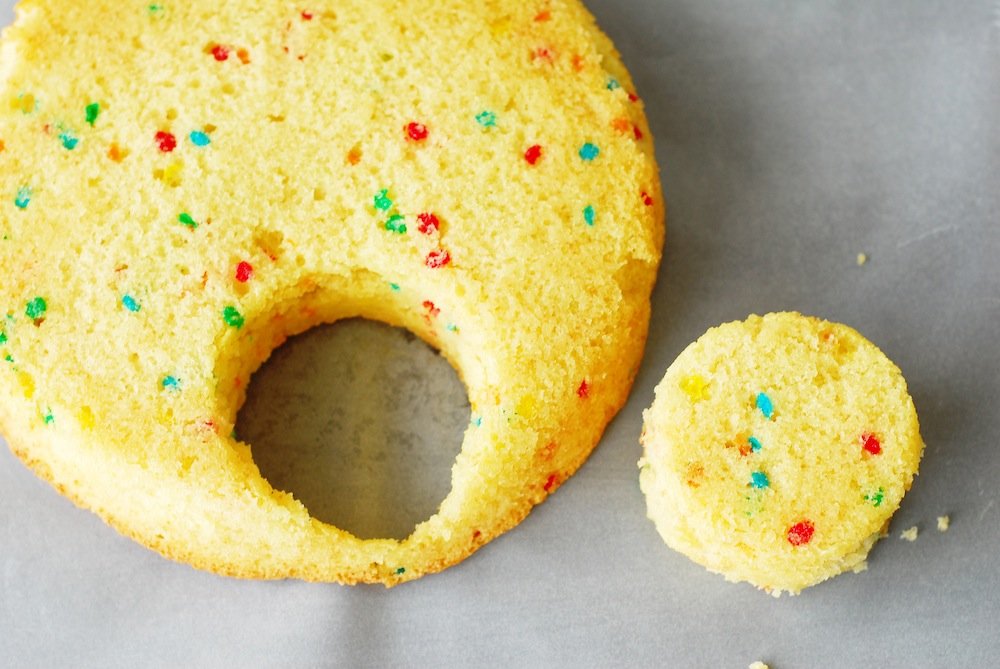
Slowly press the glass into the cake on the edge of the cake. Don’t press too hard or quickly- you want to cut the cake more than squish it (although you will a bit). Tap and shake the glass to get the cake to pop out. Don’t squish it out with your fingers or it’ll lose its shape. Repeat until you have as many circles as you can get.
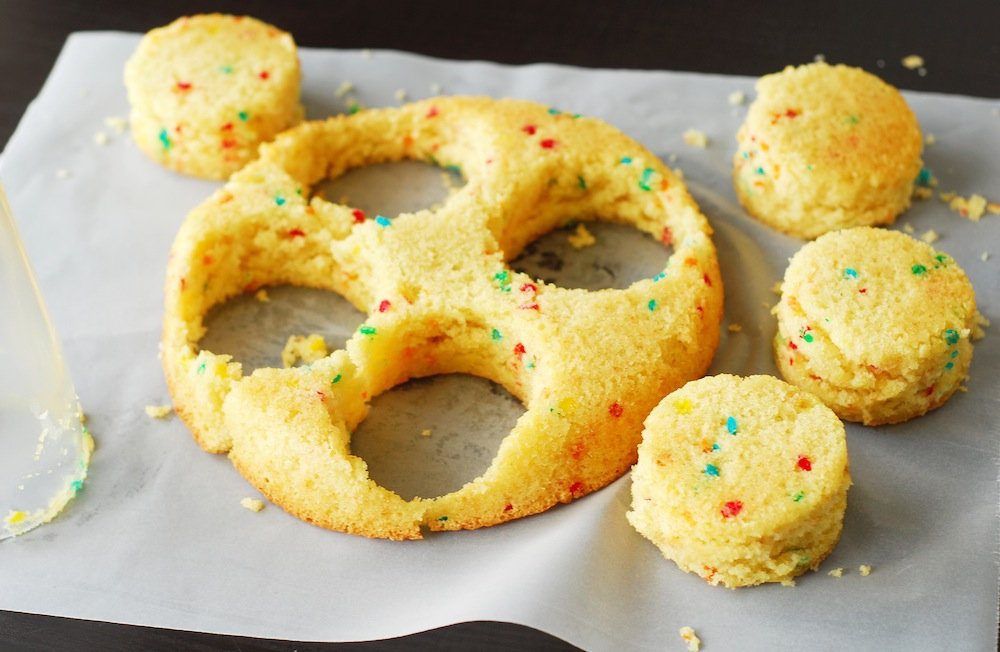
If you have enough space on the edges of the cake, you can get another circle by putting two half circles together with frosting. I was able to get five circles total, enough for a three layer cake and a two layer cake.
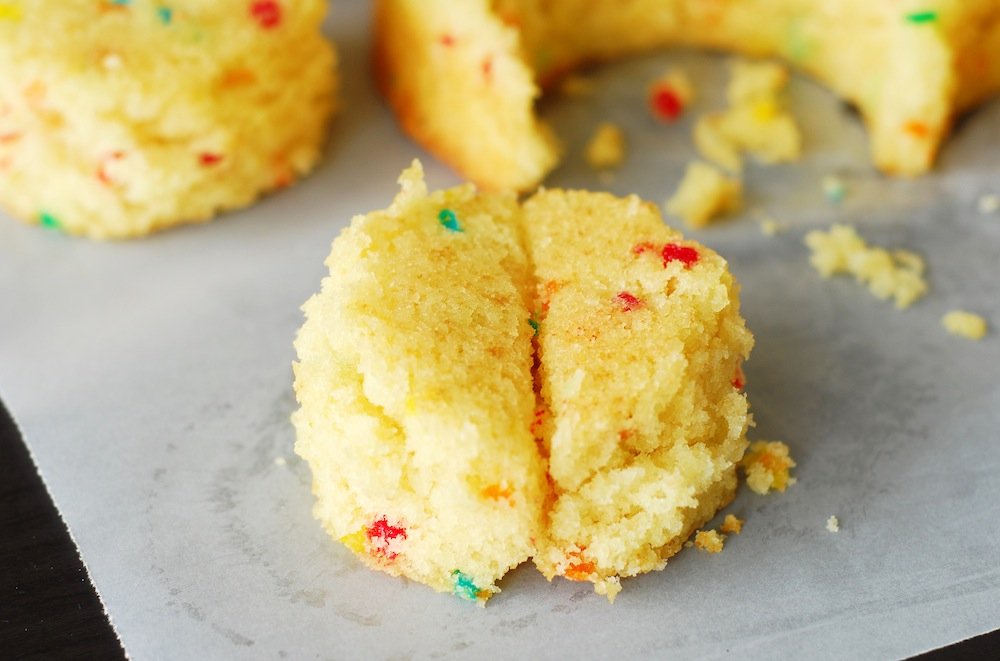
Spread frosting on the top of each cake and stack the layers. You can totally try to go higher than three, but I wasn’t sure if mine would stay upright.

Then frost the outside, cover it in sprinkles if you want, and you have the cutest birthday cake of all the birthday cakes.

I made a “4” out of sprinkles on top of my cake because I didn’t have candles and this event needed to be thoroughly commemorated.

If you ask me, this is so much more fun than a cupcake. It still looks like a frosted cake… but it’s tiny! And everything that’s a miniature version of something else is better.
Happy birthday, A Duck’s Oven! I hope you have a good reason to bake a mini birthday cake yourself soon. Half birthdays totally count!
Here’s an instructional photo for Pinning:


Get the Recipe:
Mini Stacked Birthday Cake
Ingredients
- 1 cup flour
- 1 tsp baking powder
- 1/4 tsp salt
- 1/2 cup butter, room temperature
- 3/4 cup white sugar
- 4 egg yolks
- 1/2 tsp vanilla extract
- Scant 1/2 cup milk, 1% or 2% is fine
- 1 tbsp sprinkles, optional
- 1 cup frosting of choice
Instructions
- Preheat oven to 350 degrees F (180 degrees C). Grease an 8-inch cake pan.
- Whisk together the flour, baking powder, and salt. Set aside.
- Cream the butter until lighter in color and fluffy. Add the sugar and cream until well-incorporated and light. Add the egg yolks, one at a time, and beat gently to incorporate each one. Add the vanilla and stir until incorporated.
- Alternate adding the milk and dry ingredients, about 1/4 cup at a time, until all ingredients are added. Stir until just incorporated, do not over mix. If using sprinkles to make funfetti cake, add them to the batter and stir until just incorporated. Do not over stir or the sprinkles will bleed their color.
- Pour batter into the greased cake pan. Bake for 20-25 minutes or until slightly golden and cake bounces back when pushed.
- Let cake cook in the pan on a wire rack for about 15 minutes. Invert pan and turn cake onto the wire rack and let cool until completely cool.
- When the cake is ready, lay parchment paper on a flat surface. Transfer cake to paper. Grease the rim of a drinking glass or cookie cutter with about a three inch diameter. Press the glass slowly and gently into the cake on the edge. Tap and shake the glass gently to pop the cake out. Repeat until you’ve gotten as many circles as possible (you should be able to get at least four). To create extra circles, cut out half circles from large enough spots on the edge of the cake and seal them together with frosting.
- Stack the mini cakes with a layer of frosting between each. I recommend not going higher than three layers. You may want to press the outside of the cakes together a bit to seal in the crumbs at this point. Frost the outside of the cake and decorate as you please!